


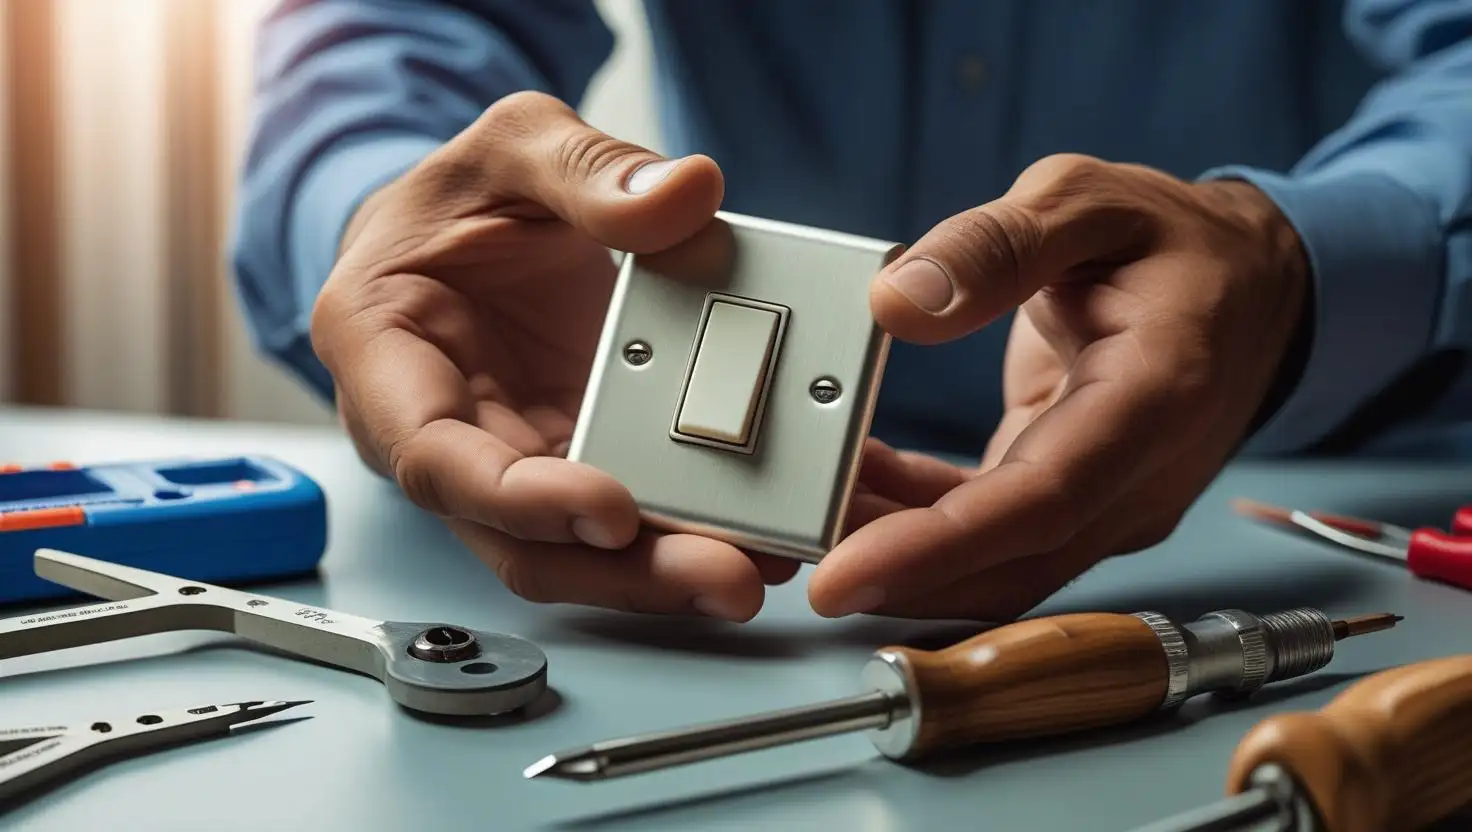
Learning how to wire a switch is a foundational DIY skill that can save you time and money. Whether you're replacing an old switch or installing a new one, this straightforward guide will walk you through the process safely and efficiently. Follow these simple steps to successfully control a light or an outlet.
I remember the first time I decided to replace a light switch. It wasn't broken, just old, yellowed, and cracked, and it made the whole wall look dated. My initial thought was to call an electrician, but for such a small cosmetic job, it felt like overkill. I decided to learn the process myself. I’ll admit, the idea of handling electrical wires was intimidating, but I was determined to be careful. After turning off the power and opening up the wall box, I discovered the setup was much simpler than I had imagined. It was just a few screws and a couple of wires. That small, successful project taught me a valuable lesson: with the right safety precautions and a clear set of instructions, what seems complex and dangerous can be a simple, safe, and incredibly satisfying DIY task. This guide is built on that experience to give you the same confidence.
How to Wire a Switch in 5 Simple Steps
Learning how to wire a switch is a foundational DIY skill that can save you time and money. Whether you're replacing an old switch or installing a new one, this straightforward guide will walk you through the process safely and efficiently. Follow these simple steps to successfully control a light or an outlet.
Step 1: Turn Off the Power

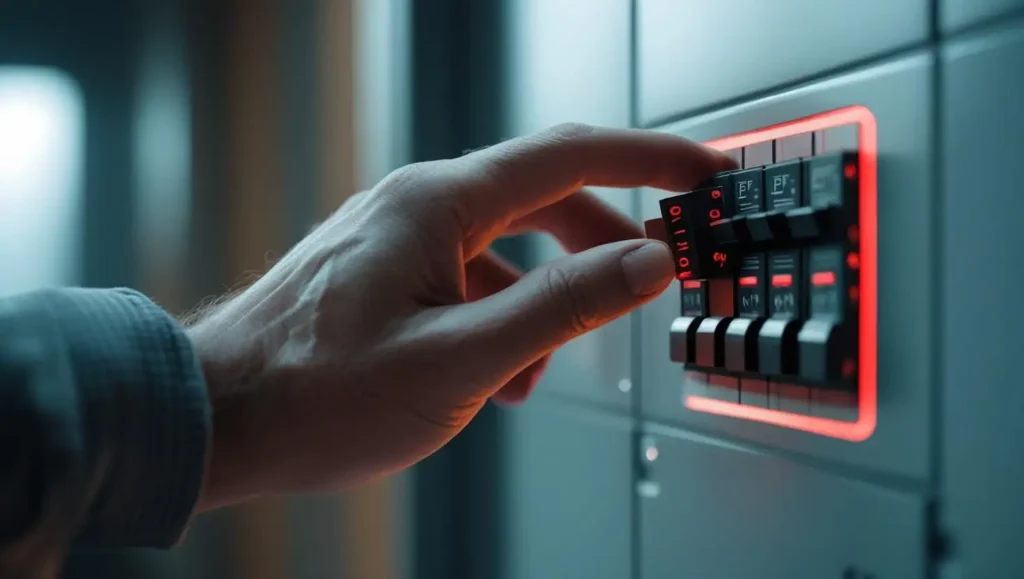
Before you do anything else, safety is your top priority. Go to your home's main electrical panel (or breaker box) and find the circuit breaker that controls the room you're working in. Flip it to the "OFF" position. It's a good idea to place a piece of tape over the breaker to prevent someone from accidentally turning it back on while you work.
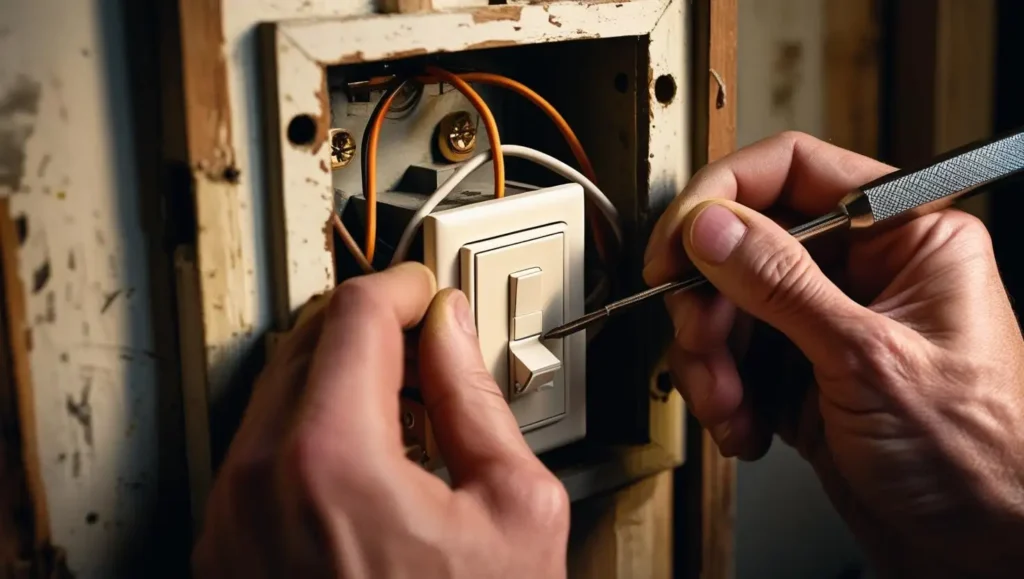
Step 2: Expose and Test the Wires
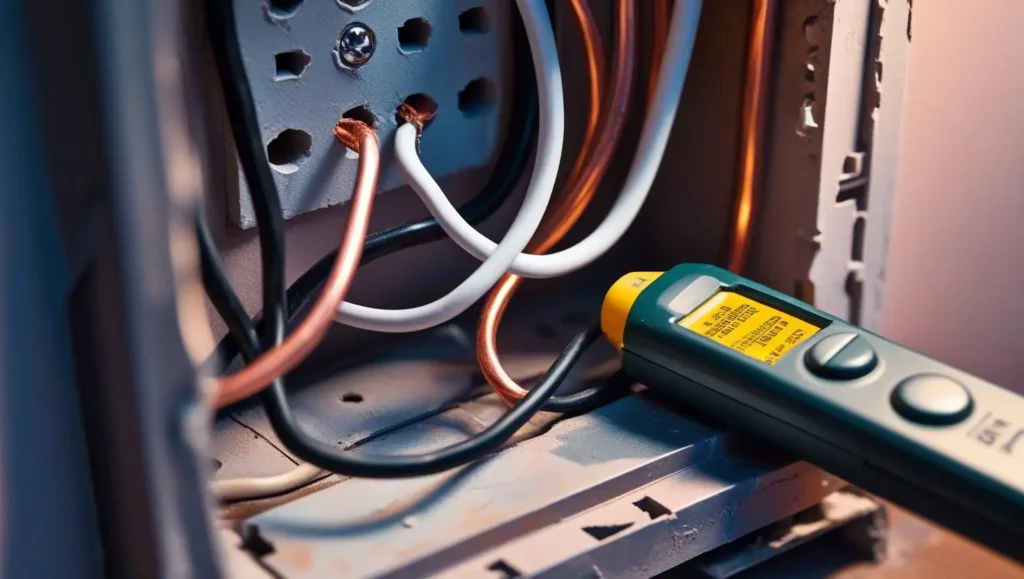
Next, unscrew and remove the faceplate from the switch you are replacing. Then, unscrew the mounting screws holding the switch in the electrical box and gently pull it out. To be absolutely certain the power is off, touch the tip of a non-contact voltage tester to the screws and wires. The tester should not light up or make a sound. Once confirmed, you can identify your wires: typically a black (hot), white (neutral), and a bare copper or green (ground) wire.
Step 3: Connect the New Switch
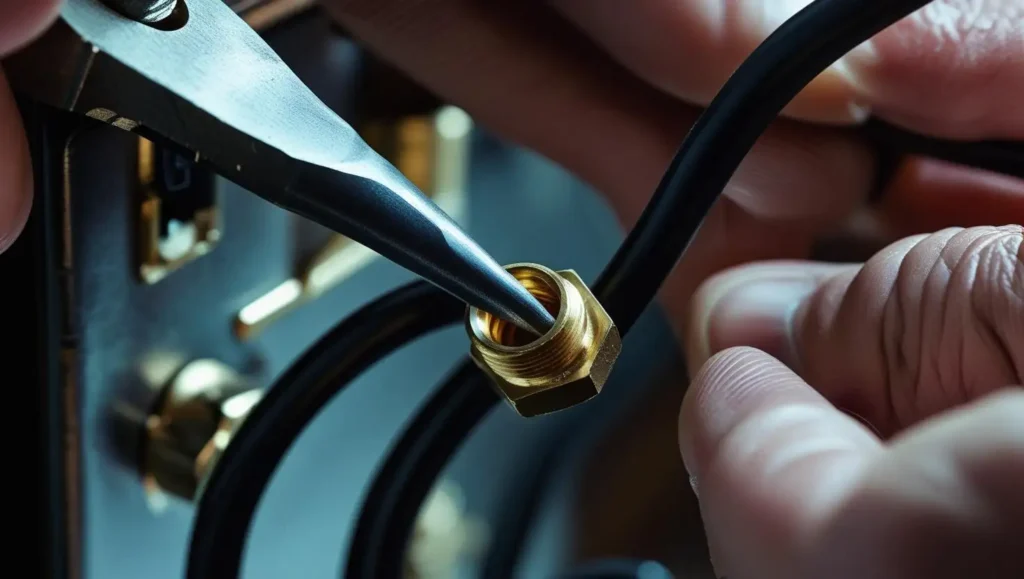
Disconnect the wires from the old switch. On your new switch, you will see different colored terminal screws. The standard connection is simple: connect the black (hot) wire to the brass-colored screw. Connect the bare copper or green (ground) wire to the green screw. Most simple light switch installations do not require the white (neutral) wire to be connected to the switch itself; it's usually connected to other white wires in the box with a wire nut.
Step 4: Secure the Switch in the Box
With the wires securely attached, carefully fold them and push the new switch back into the electrical box. Be gentle to avoid loosening any connections. Align the mounting holes at the top and bottom of the switch with the holes in the box. Use the screws that came with the switch to secure it firmly in place.
Step 5: Attach Faceplate and Test
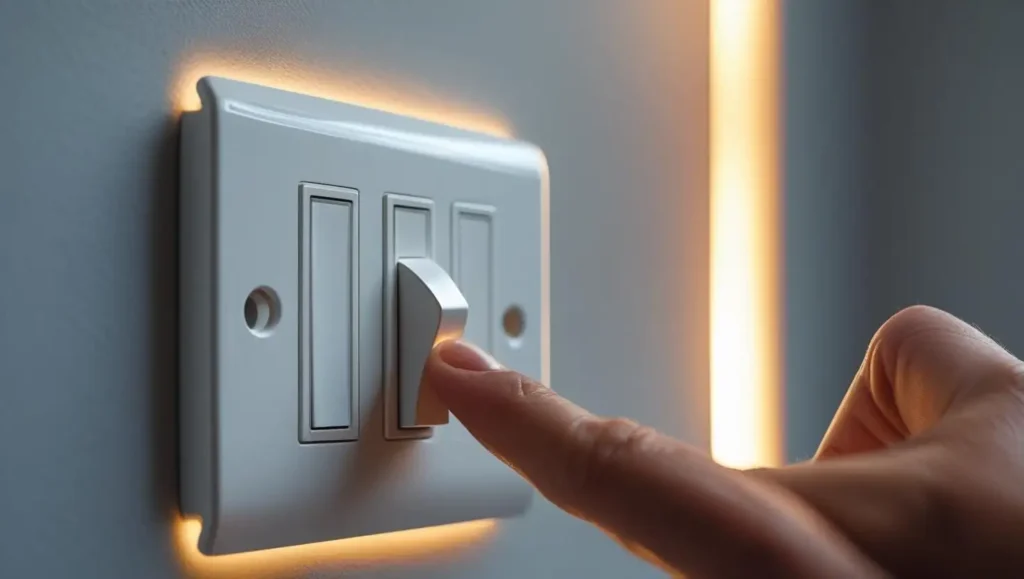
Finally, screw the new faceplate over the switch. Now you can return to your electrical panel and flip the circuit breaker back to the "ON" position. Go back to the switch and test it. If the light or device turns on and off correctly, you’ve successfully wired your new switch!
Quick Tips for Success
- Do use a voltage tester every single time.
- Don't work with the power on, ever.
- Do make sure the wire loops around the terminal screws in a clockwise direction. This tightens the connection as you tighten the screw.
- Don't leave any bare wire exposed besides the ground wire. All connections should be secure and insulated.
- Do ensure your work meets basic safety standards. For a deeper understanding, review the home electrical safety guides provided by the Electrical Safety Foundation International (ESFI).
Pros & Cons of DIY Switch Wiring
Pros:
- Cost-Effective: Saves money on hiring an electrician for a simple job.
- Skill Building: A great entry-level project to build your DIY confidence.
- Convenience: You can do it on your own schedule without waiting for a professional.
Cons:
- Safety Risks: Working with electricity is inherently dangerous if proper precautions aren't taken.
- Potential for Error: Incorrect wiring can lead to a non-working switch, a short circuit, or a fire hazard.
Frequently Asked Questions (FAQs)
What tools do I need to wire a switch?
You'll need a few basic tools: a Phillips and flathead screwdriver, wire strippers, needle-nose pliers, and a non-contact voltage tester.
What do I do if my wire colors are different?
While black (hot), white (neutral), and copper (ground) are standard, older homes may have different colors. If you are unsure, it is always best to stop and consult a licensed electrician.
Can I replace a standard switch with a dimmer switch?
Yes, in most cases. The wiring process is very similar, but dimmer switches are often larger, so ensure you have enough space in the electrical box. Always follow the manufacturer's specific instructions for the dimmer.
Conclusion
Congratulations! You now know how to wire a switch safely and effectively. By following these steps and prioritizing safety, you've completed one of the most common and useful home electrical tasks. This small project opens the door to taking on more ambitious DIY improvements around your home.
Ready for your next project? Explore more of our easy-to-follow guides at HowToResults:
- Master your next task with our guide on How to Wire an Outlet
- Take it a step further and learn How to Wire a 3-Way Switch