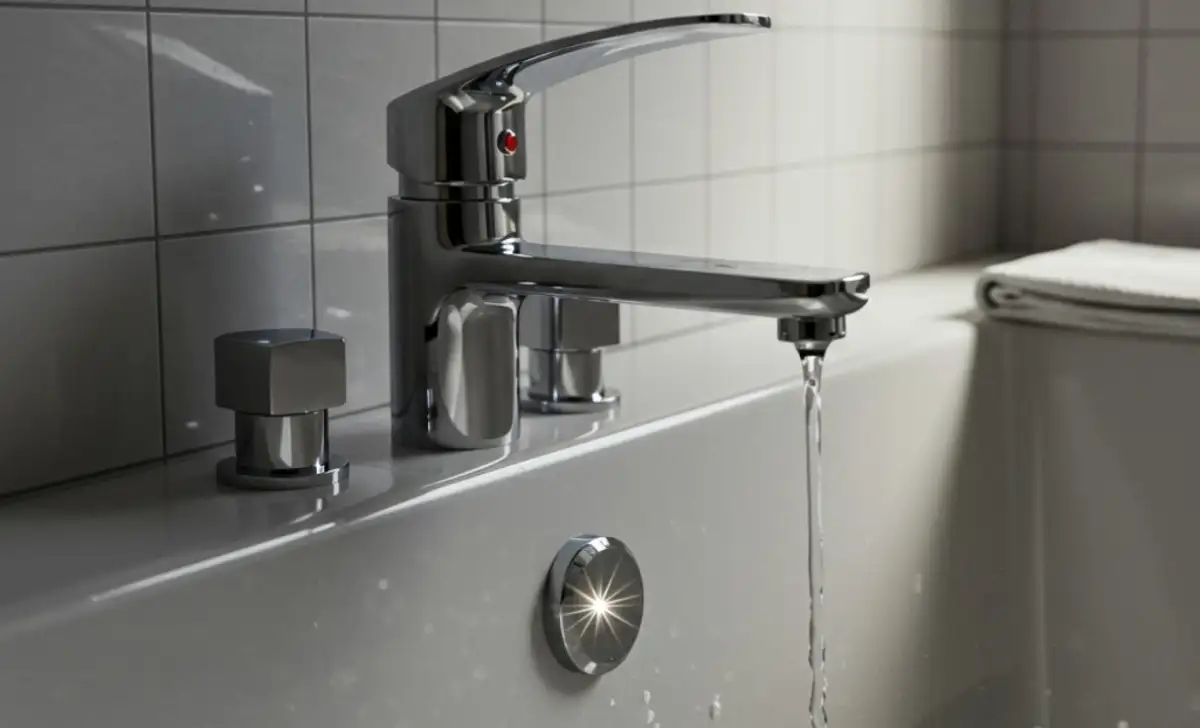
That constant drip, drip, drip from the bathtub isn’t just annoying—it’s a sign of money and water going down the drain. If you’re tired of hearing that sound, you’ve probably wondered how to fix a leaky bathtub faucet without calling an expensive plumber. The good news is that you can absolutely handle this common problem yourself. A dripping tub faucet is usually a simple fix.
This guide provides an easy-to-follow solution. We will walk you through the entire process, focusing on the most common repair: a bathtub faucet cartridge replacement. After reading, you’ll have the confidence and knowledge to stop the leak for good.
What You’ll Need: Tools & Materials
Before you start, gather everything you need. Having your tools ready makes the job go much smoother. The goal here is a quick and successful bathtub faucet cartridge replacement, which is the cause of most leaks.

- New Faucet Cartridge: Take a picture of your faucet handle or bring the old cartridge to the hardware store to find the exact match.
- Phillips Head Screwdriver
- Flathead Screwdriver
- Allen Wrench Set (Hex Keys)
- Pliers or a Cartridge Puller Tool
- Utility Knife
- Rags or an Old Towel
- Silicone Grease (Plumber’s Grease)
How to Fix a Leaky Bathtub Faucet Step-by-Step Instructions
Follow these simple steps to fix your leak. We’re focusing on a single-handle cartridge faucet, the most common type found in modern homes.
Step 1: Turn Off the Water Supply

This is the most important step! You don’t want a surprise shower. Look for a shutoff valve for your house, which is often in the basement, a utility closet, or near your water heater. Turn the valve clockwise until it’s completely closed. To make sure the water is off, turn on the leaky faucet—it should let out a trickle of water and then stop completely.
Step 2: Plug the Drain
Place a rag or a drain stopper in the bathtub drain. This will prevent any small screws or parts from accidentally falling down the drain while you work.
Step 3: Remove the Faucet Handle

This step is key if you need to fix a bathtub handle leak, as the problem often lies underneath. Look for a small cap on the front or side of the handle. Carefully pry it off with a flathead screwdriver or a utility knife to reveal a screw. Use an Allen wrench or a Phillips head screwdriver to loosen and remove this screw. Once the screw is out, you should be able to pull the handle straight off. It might be a little stuck, so a gentle wiggle can help.
Step 4: Remove the Escutcheon and Faceplate
The escutcheon is the decorative metal sleeve right behind the handle. It should slide right off. Next, you’ll see the faceplate, which is held to the wall by two screws. Unscrew them and carefully pull the faceplate away from the wall. You might need to gently cut through any old caulk with your utility knife.
Step 5: Pull Out the Faucet Cartridge

Now you can see the end of the faucet cartridge inside the wall. It’s usually held in place by a small clip on top. Use your flathead screwdriver to pry this clip straight up and out. Follow these simple steps to fix your leak. This guide focuses on a single-handle cartridge faucet, which is one of the most common types. Different faucets use different mechanisms, such as cartridges, ceramic discs, or ball valves. Understanding the basics of these faucet valve types can be helpful before you begin.
Step 6: Install the New Cartridge

Take your new cartridge and apply a small amount of silicone grease to the rubber O-rings. This helps it slide in easily and create a better seal. Align the new cartridge the same way the old one came out and push it firmly into the valve body until it’s seated all the way. Re-insert the retaining clip to lock it in place.
Step 7: Reassemble the Faucet
Now, just do everything in reverse!
- Put the faceplate back on and secure it with its two screws.
- Slide the escutcheon back over the cartridge.
- Place the handle back on the cartridge stem and tighten the set screw.
- Pop the decorative cap back over the screw.
Step 8: Turn the Water Back On and Test
Go back to your main water shutoff valve and turn it counter-clockwise to restore water to your house. Return to the bathroom and check your work. Turn the faucet handle on and off. Look closely for any drips from the spout or leaks around the handle. If it’s dry, congratulations—you fixed your dripping tub faucet!
Pro Tips for Success
- Take a Picture: Before you take anything apart, snap a quick photo with your phone. It’s a great reference if you forget how things go back together.
- Don’t Force It: If a part feels stuck, don’t yank it. You could break a pipe inside the wall. Instead, try gently wiggling it or look for a clip or screw you might have missed.
- Buy the Right Part: The hardest part of this job is often finding the correct replacement cartridge. Take the old one with you to the hardware store to ensure you get a perfect match.
Frequently Asked Questions (FAQ)
Why is my tub faucet still leaking after replacing the cartridge?
If it’s still leaking, there might be some debris inside the valve body where the cartridge sits. Try removing the new cartridge and flushing the valve by turning the water on for a few seconds (use a bucket to catch the water!). You can also check the valve seat itself for corrosion or damage, which may require a professional plumber to fix.
How much does it cost to have a plumber fix a leaky bathtub faucet?
Hiring a plumber for this job can cost anywhere from $150 to $400 in 2025, depending on your location and the complexity of the job. By doing it yourself, you only pay for the replacement cartridge, which typically costs between $15 and $50.
Can I fix any type of bathtub faucet this way?
This guide covers the most common single-handle cartridge faucets. While the basic principles (turn off water, disassemble, replace parts) are similar for other types like compression (two-handle) or ball faucets, the internal parts are different. Identifying your faucet type first is key to getting the right parts.
Conclusion
You’ve successfully fixed your leaky bathtub faucet, saved money, and prevented water waste. By following these simple steps, you’ve handled a common home repair project like a pro.
For more helpful guides and solutions, visit howtoresults.com to explore our wide range of how-to articles. Also follow howtoresults on pinterest.






Leave a Review